Friday, December 18, 2009

Day 69: Looks like a Christmas Salad is in my Future

Photobucket
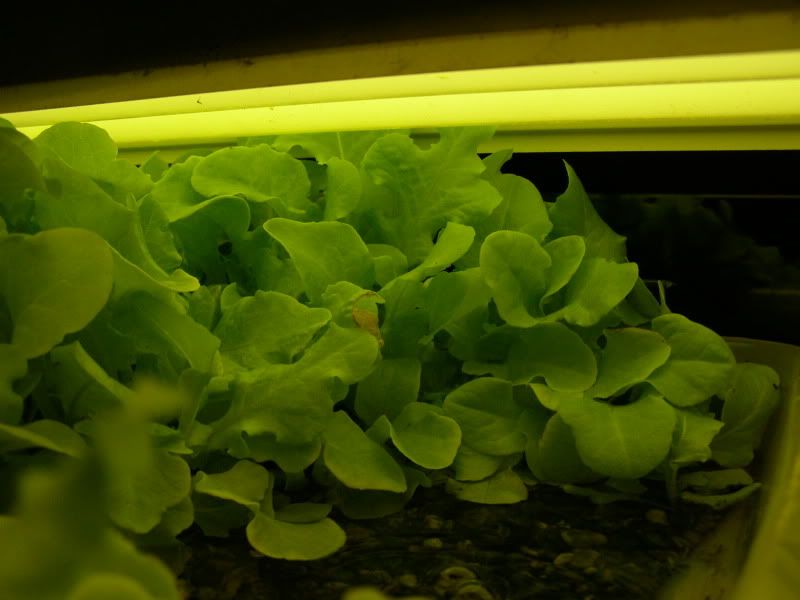
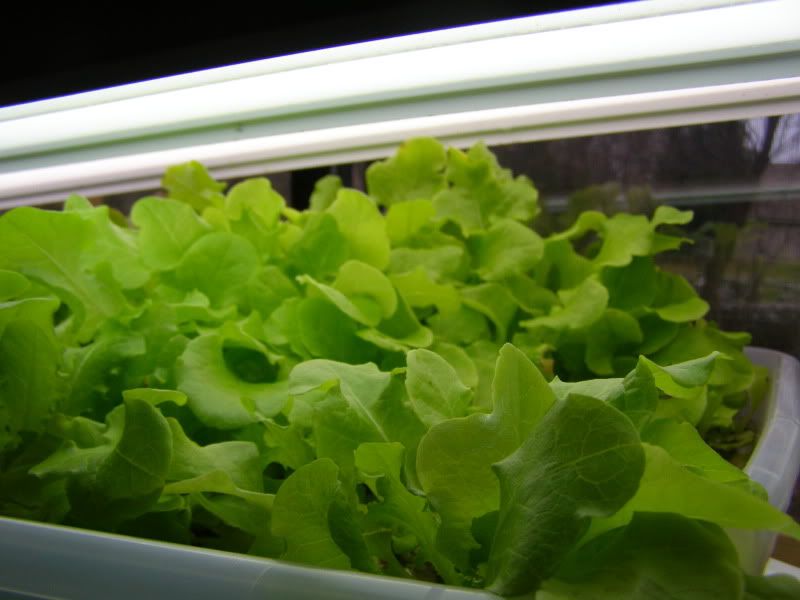
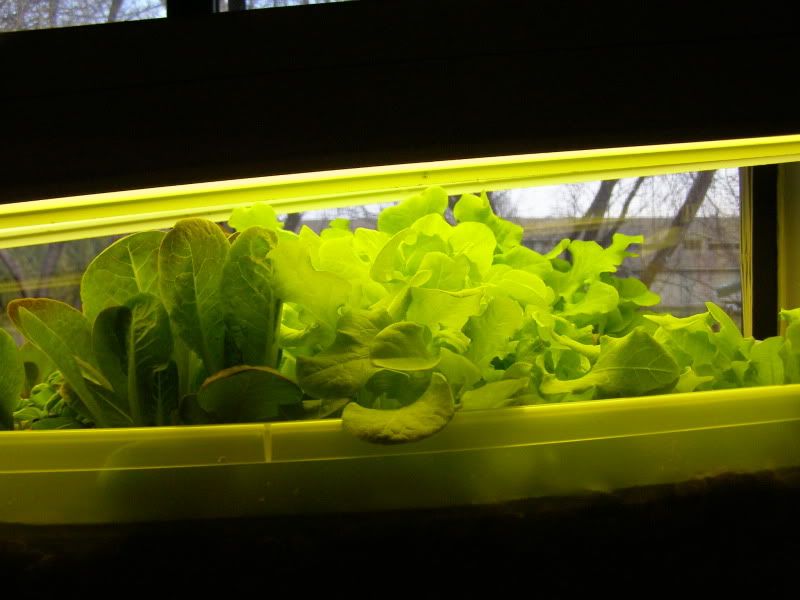
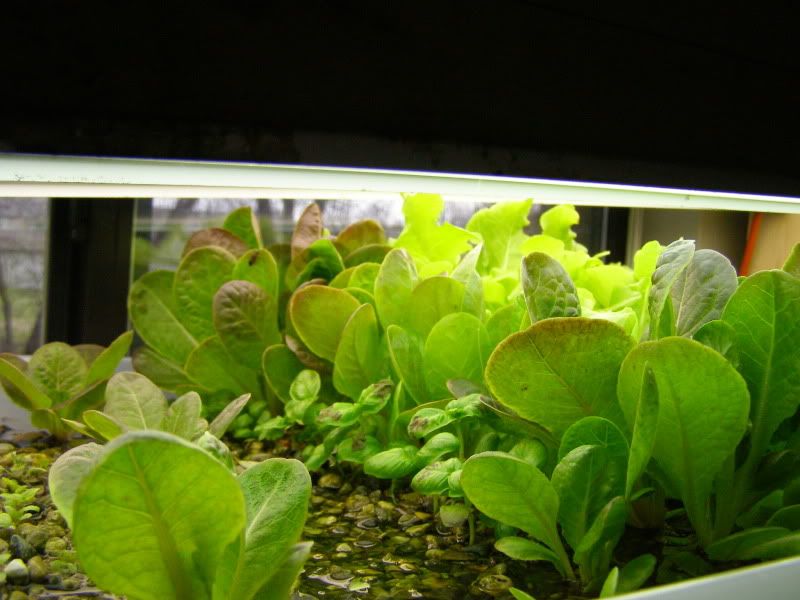
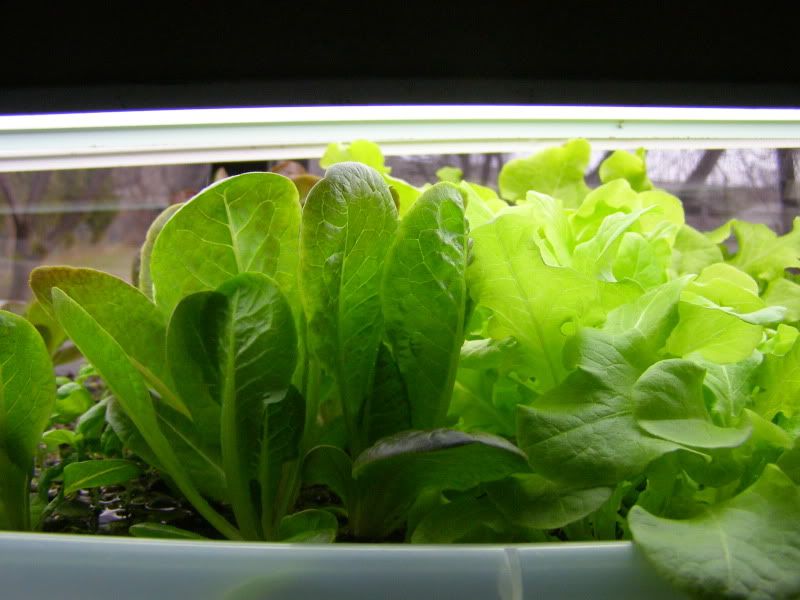
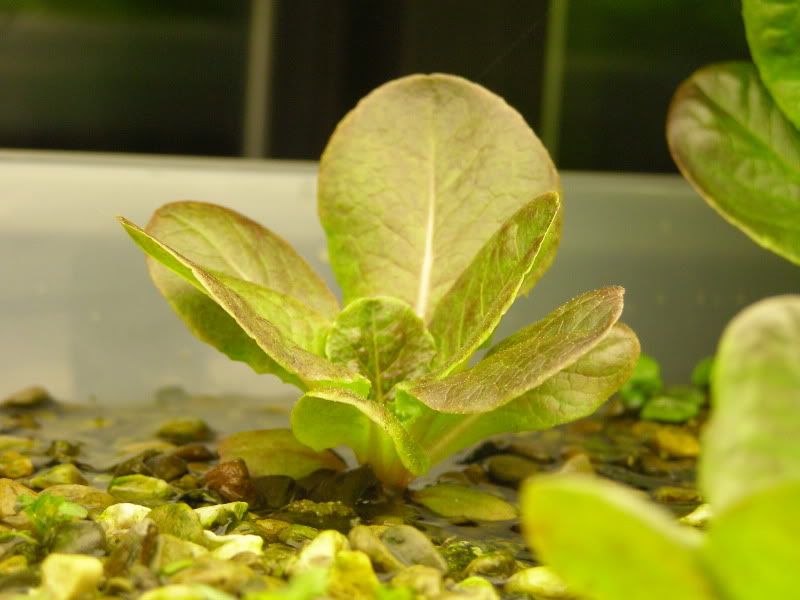
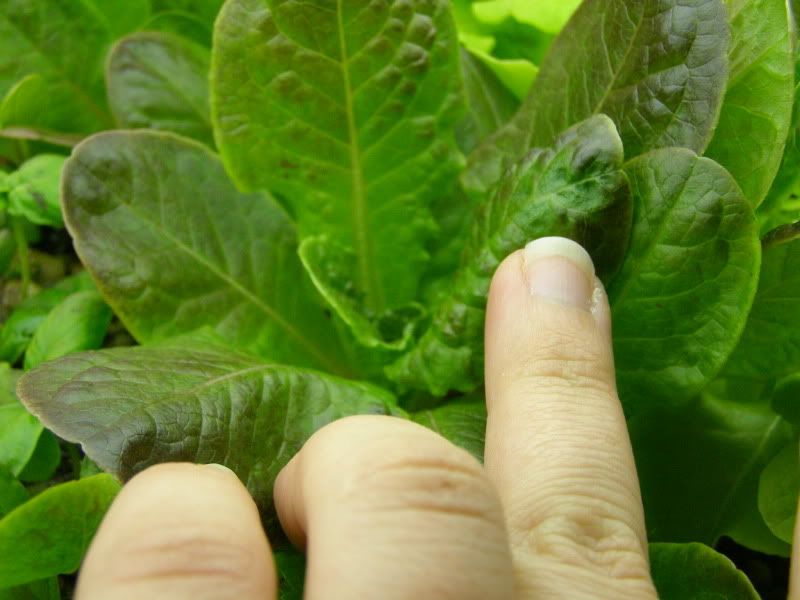
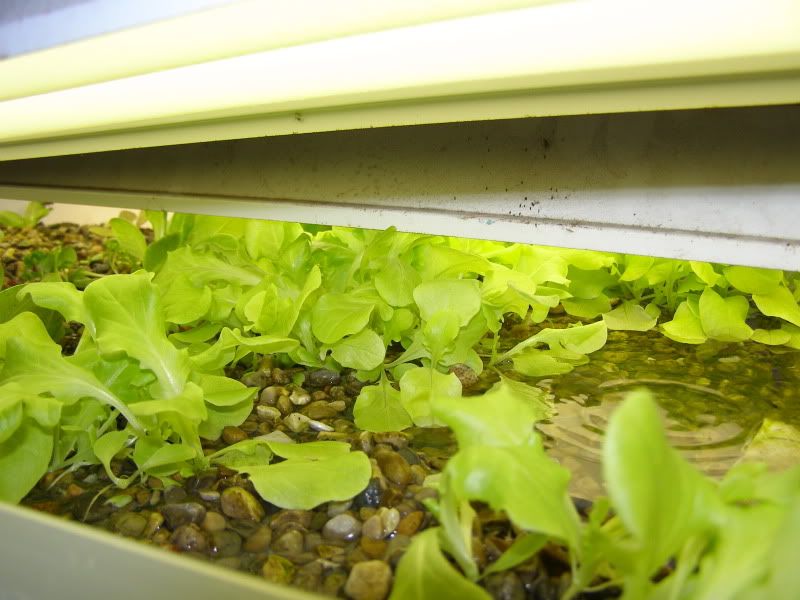
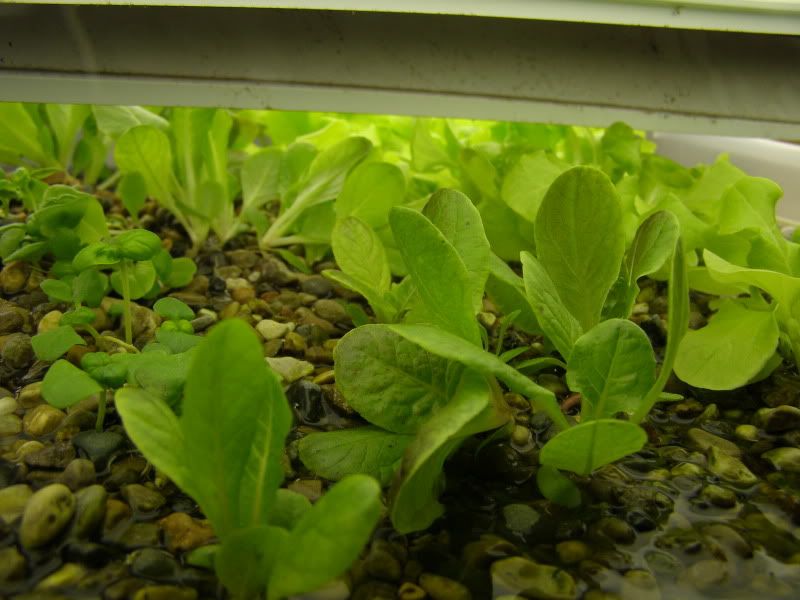
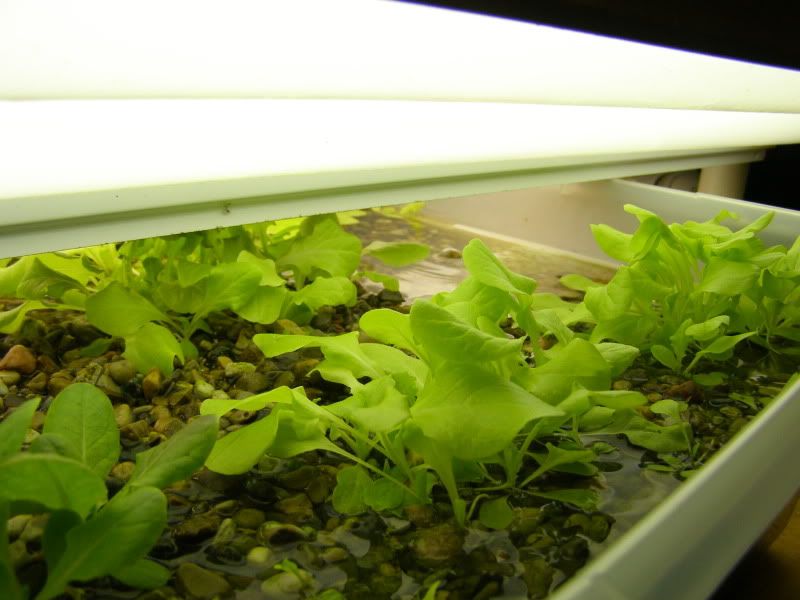
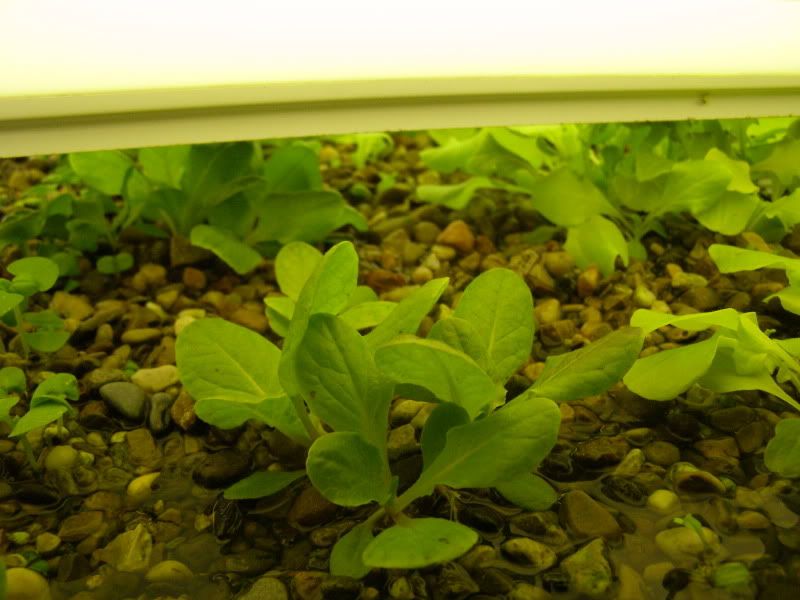
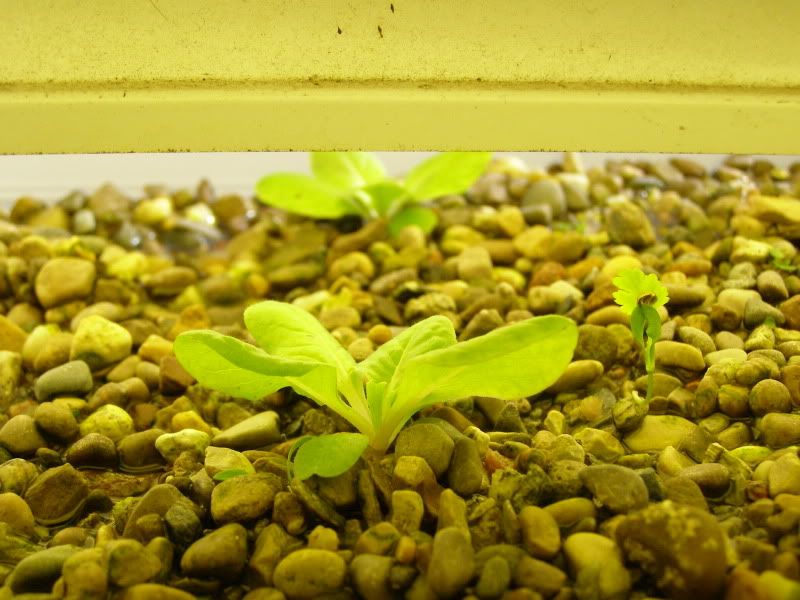
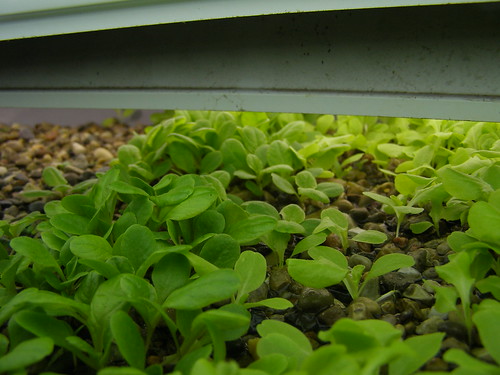
Lovely lettuce.


Photobucket
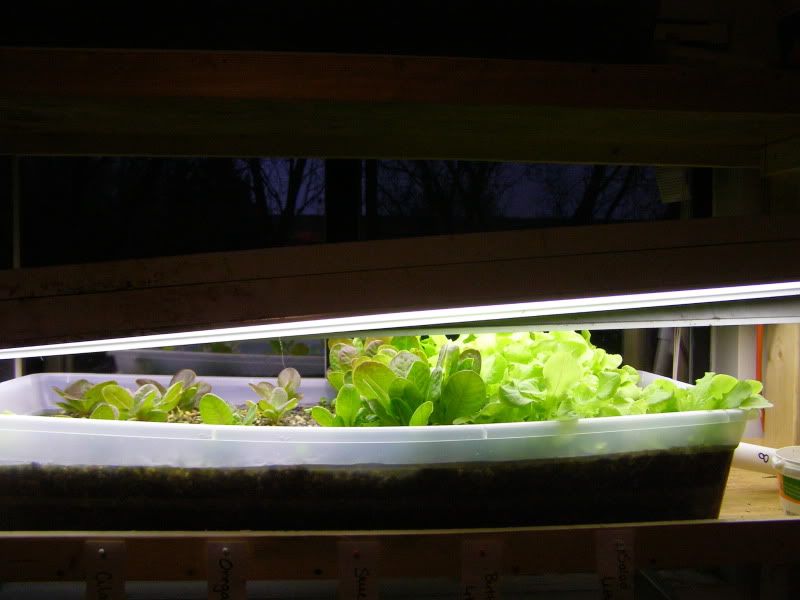
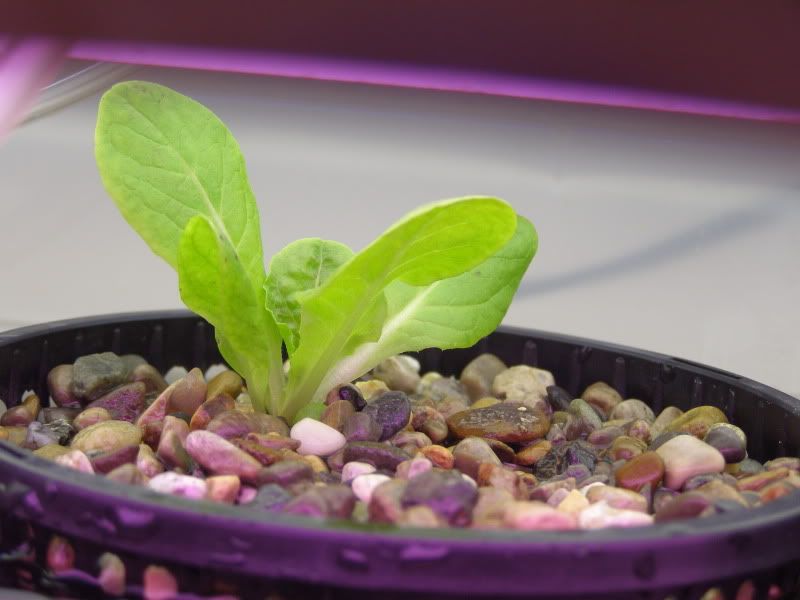
The Butterhead variety grew slower, but I think it tastes better and has better 'form'. 
Whatever that means.  ;o)


Photobucket
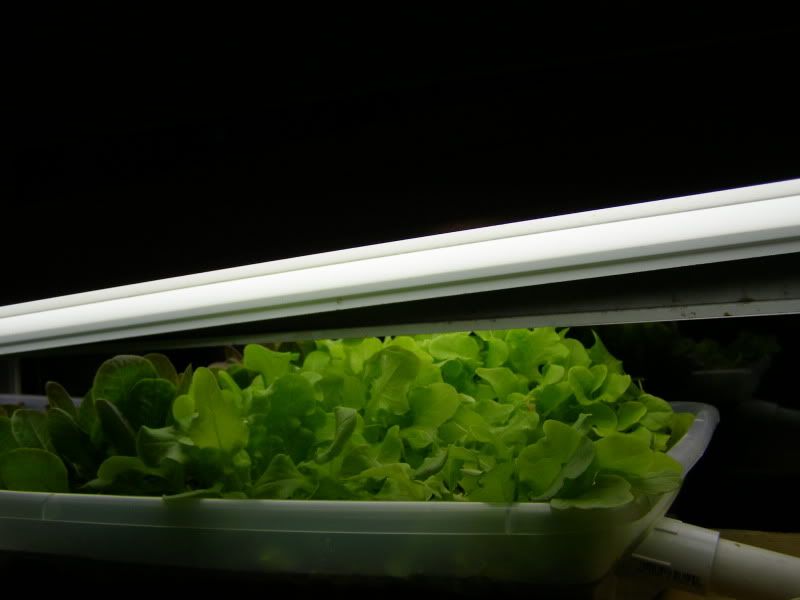
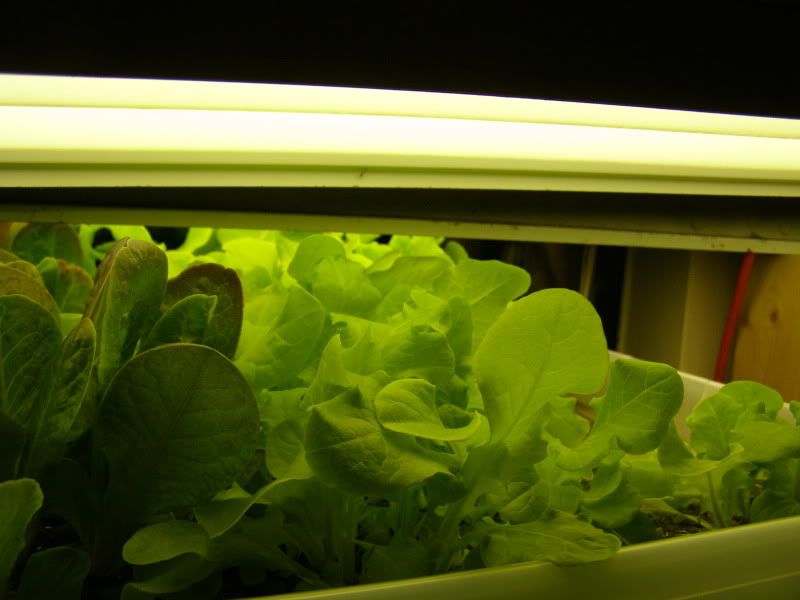
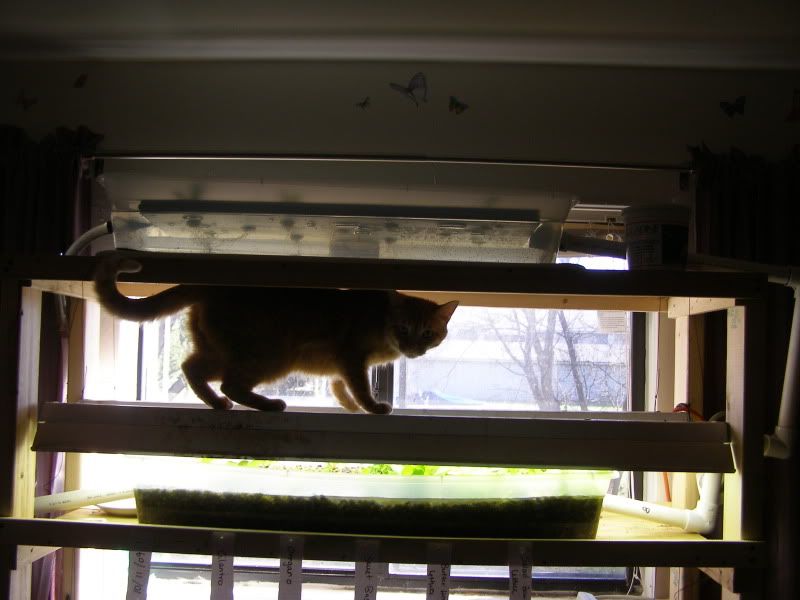
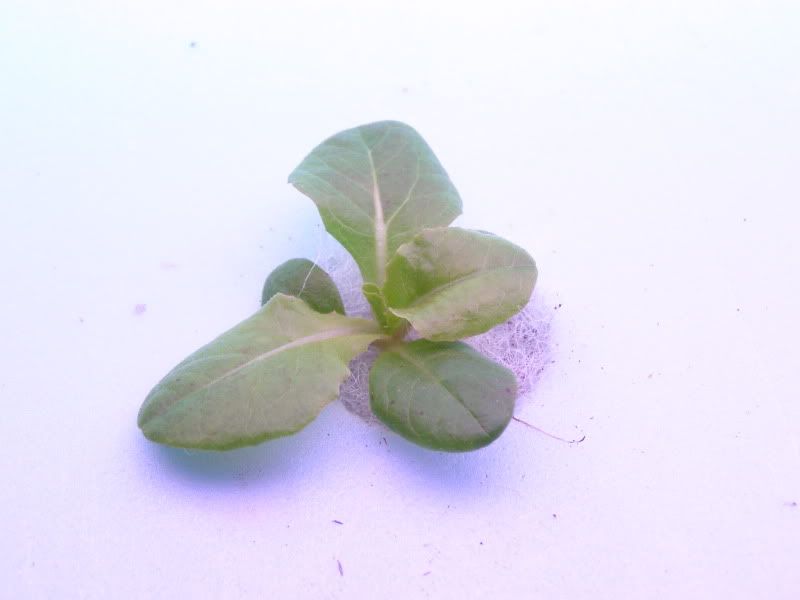
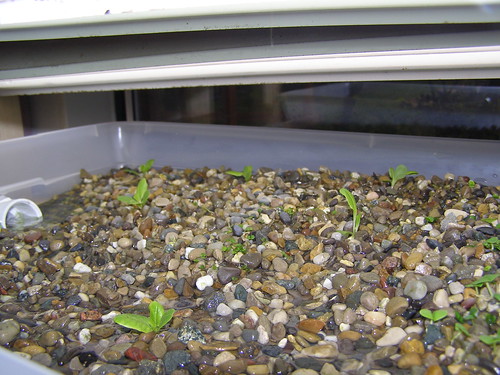
I think I waited too long to raise the lights and the small amount of heat coming off them was enought to dry out the tips on some of the leaves.  Oops. 


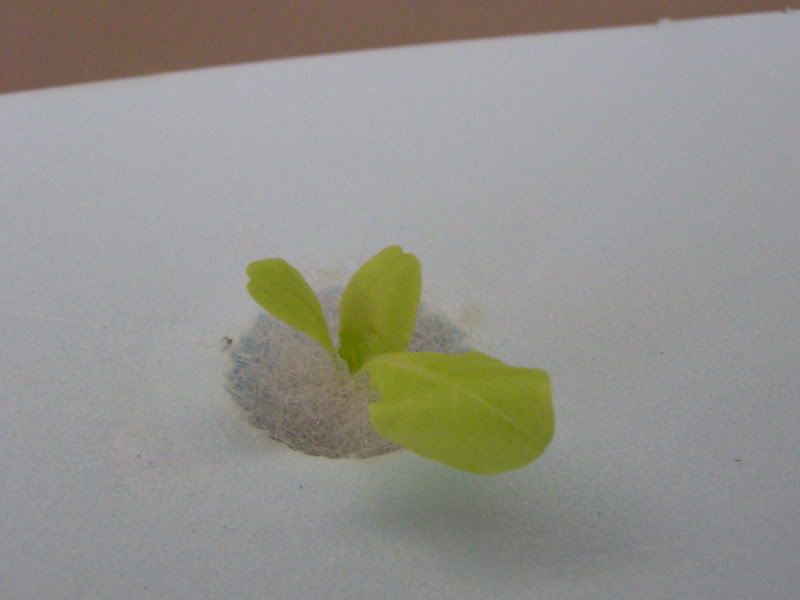
All-in-all it was a fun experiment.  I've already got some new seeds going in the mesh pots, and I can't wait to start up a new experiment at the local High School.  When I get the Power Point I plan to use to present there all pretty and how I like it, I'll post.

MERRY CHRISMAS!

Thursday, November 26, 2009

Rave Reviews!

Testing day was a success!

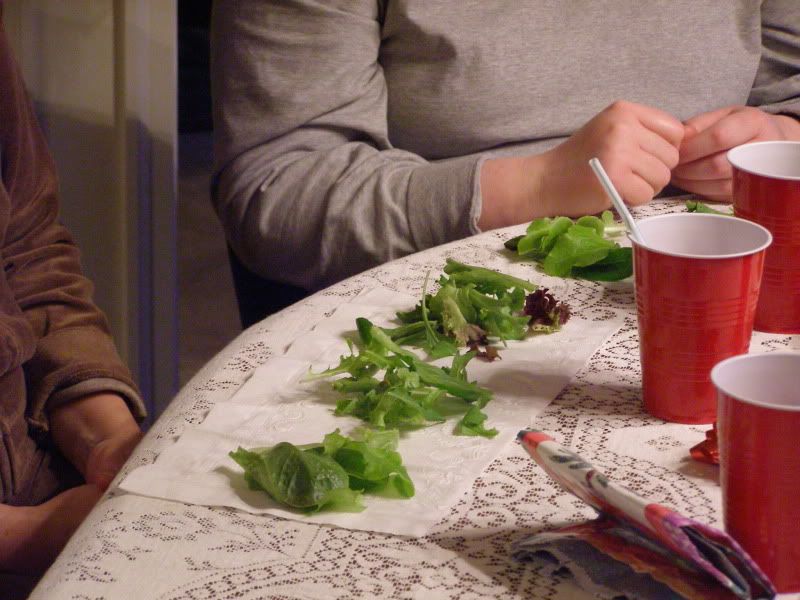
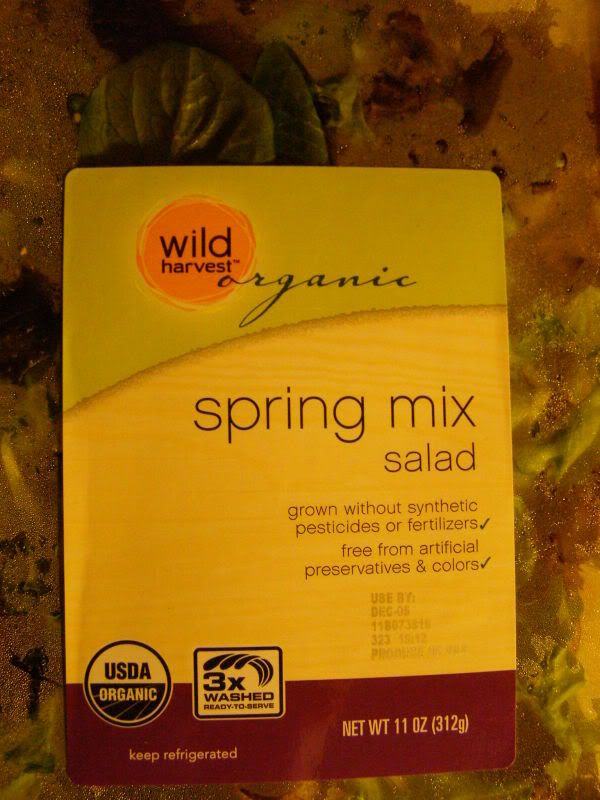
For the test, I made a mix of my two home grown varieties and bought some organic lettuce from the grocery store.  The three test groups consisted of a) Wild Harvest Organic spring mix lettuce, b) a mixture of the purchased lettuce and my lettuce, and c) my lettuce only.
*For the mixture (group b), I picked out only certain varieties of lettuce from the spring mix and mixed them with my two varieties*

Photobucket


The 'competition'.

Photobucket

Apparently, Wild Harvest needs to work on the flavor of their lettuce.  It did not get great reviews.

Photobucket

The Wild Harvest lettuce group was described as:  bitter, salty, and just plain not the best.
The mixture of both was actually the favorite group.  I can't say whether or not this was because of my lettuce or because of the varieties I picked out of the Wild Harvest lettuce. 
My lettuce was the second favorite.  This is more than satisfying for me.  The butterhead variety was the favorite among the two I grew, and both were tasty.  I was assured that positively no 'fishy' flavor was detected.  FANTASTIC!  (I would have been happy even if my lettuce had not ranked highly, just as long as it wasn't deemed *funky* in any way.) 

Photobucket

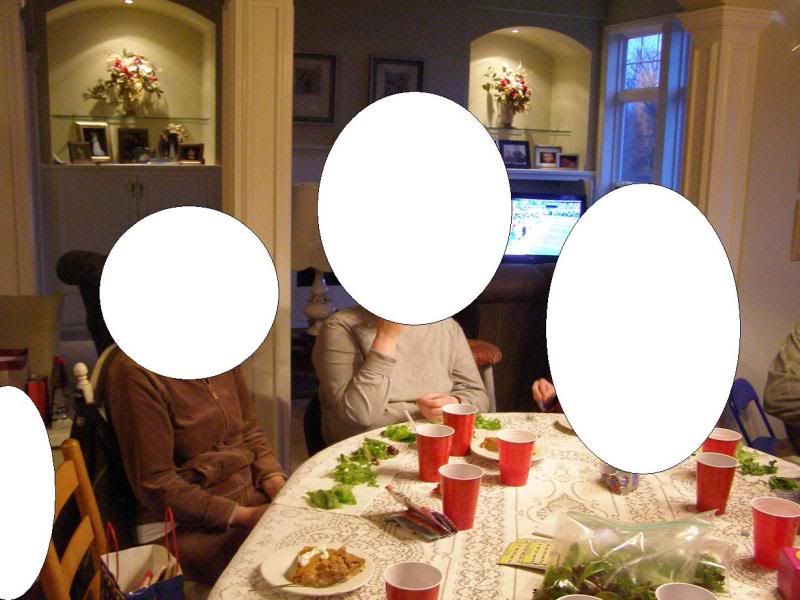
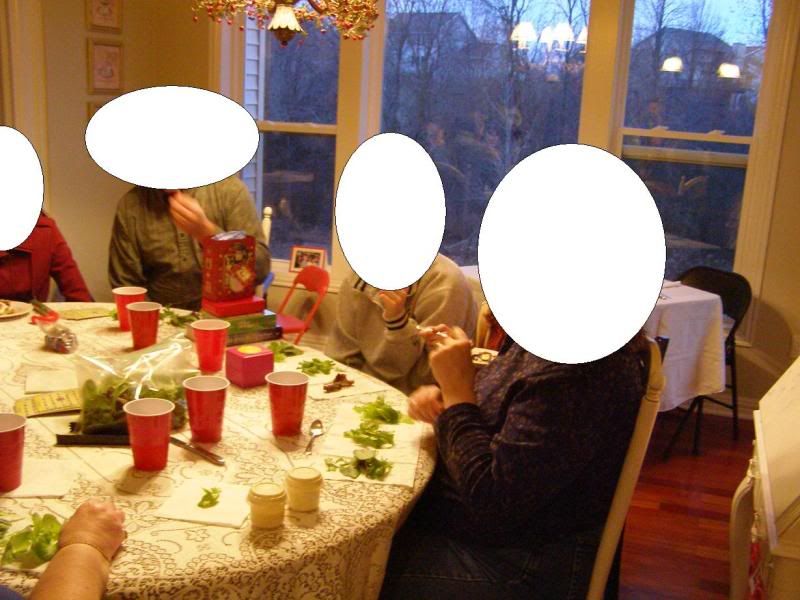
A big THANK YOU to all who participated in the lettuce tasting study!!

*all faces have been conceiled to protect the identities of participants in the event of backlash from the Wild Harvest lettuce people after their poor reviews*  

HA!  I crack myself up sometimes.    ;)

Wednesday, November 25, 2009

A few things:

First, harvesting lettuce in a container shoulder high and 3 feet deep is a giant pain in the butt.
Second, the lettuce doesn't appear to be all that disturbed by being crowded.  (but it does make harvesting a little more difficult)
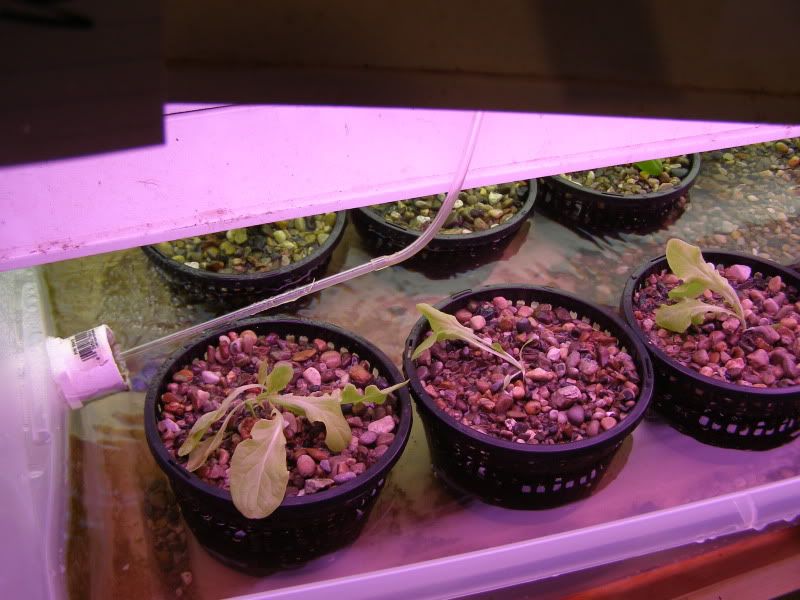
Third, I'm really hoping it works well to grow the plants in the pond baskets full of gravel - it will be so much easier in many ways. (I planted some fresh seeds in them today)
Fourth, I tasted the lettuce and it seems just fine to me.
Fifth, the lettuce on the back side, closest to the exterior window, is definitely bigger than the rest.  Clearly natural light is a hot commodity.
Sixth, I'm thinking about getting some more goldfish and putting them in the top chamber to see how they do.  We'll see.
Seventh, the lettuce is picked and washed and bagged up for testing tomorrow.  I will provide a full report.

Tuesday, November 24, 2009

Day 43: Nearing Judgement Day

Believe it or not, I have not actually eaten any of my lettuce yet.  Wrong, so very wrong.  I know.
In fact, I haven't paid much attention to my 'garden' at all.  I feed the fish when I feed the cats (and I must say - thank god I feed the cats in the same room or I probably would forget that, too).  All I've really done is take some pictures on the weekends.  Other than that, the system really seems to be running itself.  This is a major plus, especially for the convenience of small scale home growing.  (but don't tell my fish that - I think they want to go back in the pond in spring)

 I plan to perform my 'blind taste testing' (which, by the way does not mean I'm going to poke anybody's eyes out) on Thanksgiving.  I'm at least fairly confident my family will willingly participate in my experiment, and I know at least my mother will be brutally honest (she is fully prepared to set off the alarm bells if anything should taste even the least bit 'fishy').

I'll elaborate even more on the taste testing once I come up with an evaluation technique and pick the 'competition lettuce' at the grocery store.  Yes, I know Thanksgiving is only two days away!

Oh, the PRESSURE!! 

Until then, have a look-see at the day 43 pictures.  (again, with no ruler - I'm working on it, I swear)

42

42

42

42
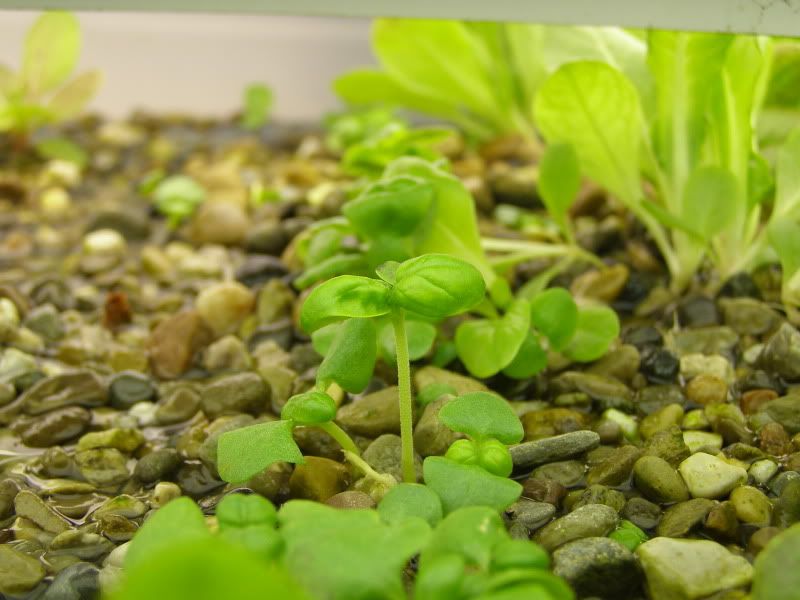
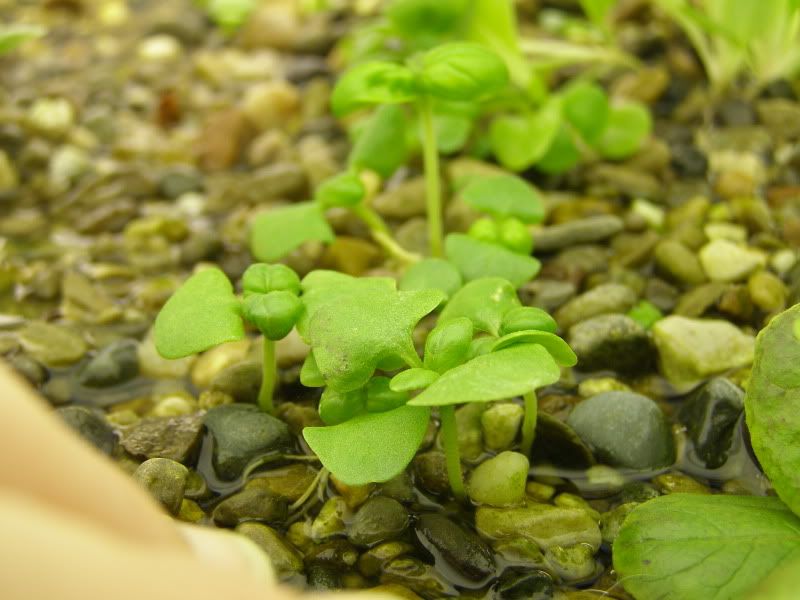
Not real sure what's going on with the basil.  It doesn't appear to be too thrilled with the environment I have provided for it.

42


Well, if I don't post before Thanksgiving - HAPPY THANKSGIVING!
(and wish me luck)

Monday, November 23, 2009

Day 35: Moving right along

 Things are coming right along in the 'garden'.
The gravel bed is by far my best hope for success right now.  I have a very good feeling this has to do with the fact that these plants were sewn right into the gravel and never moved.  I'm going to try to re-seed the basket planters in the lower chamber and see how those plants do if I just sew them and leave them alone.  I hypothesize they will do much better.

Also, it just now occurred to me that it would have been a good idea to take pictures with a ruler next to the plants so you could actually tell how big they were at each stage.
Oh, well.  Next time.  Live and learn.

35


35

35


35


35

Thursday, November 5, 2009

Day 25: Experimenting

Most of the lettuce is still doing pretty well.

Photobucket
Salad Bowl

Photobucket
Butterhead

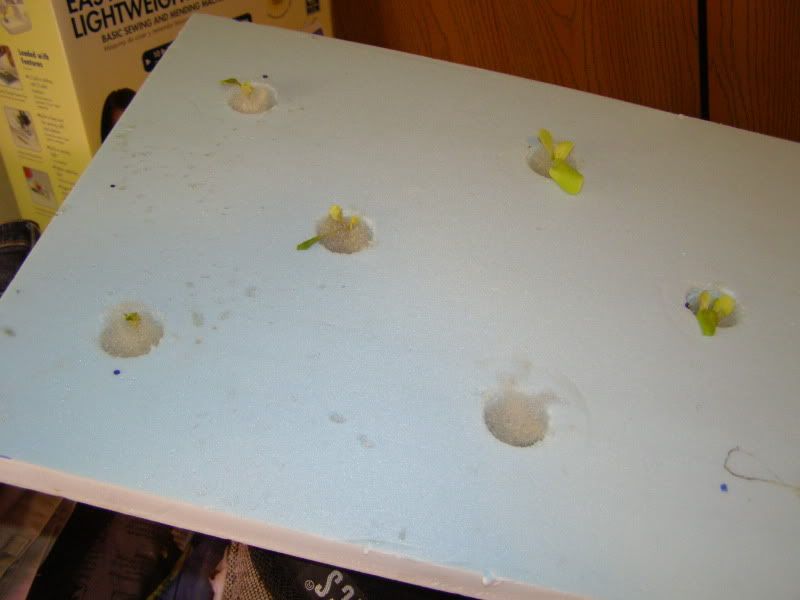
One of the rafts is not doing well at all. 

Photobucket

I suspect feline interference. Though it's not fair to blame it completely on the cats, though - I really don't think it was getting enough light.  I'll be going to get more lights tomorrow afternoon.

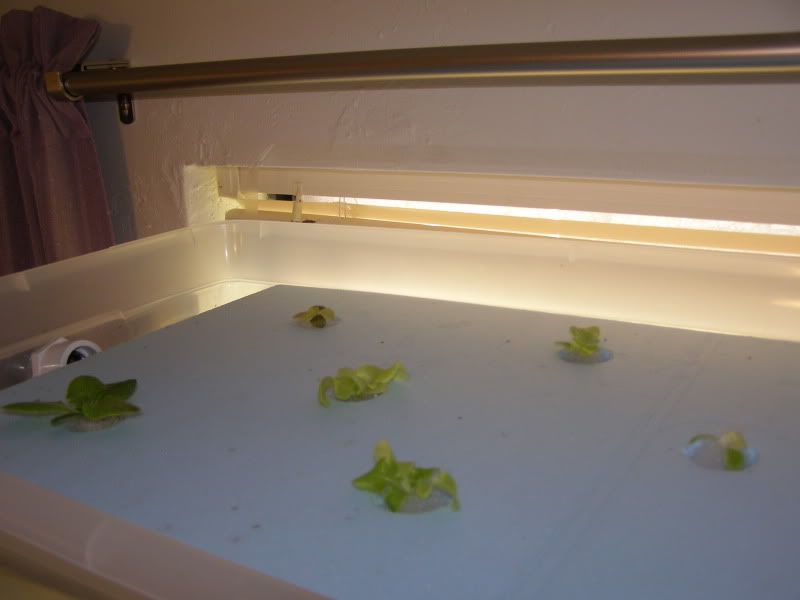
The other raft is doing ok. 

Photobucket

Photobucket
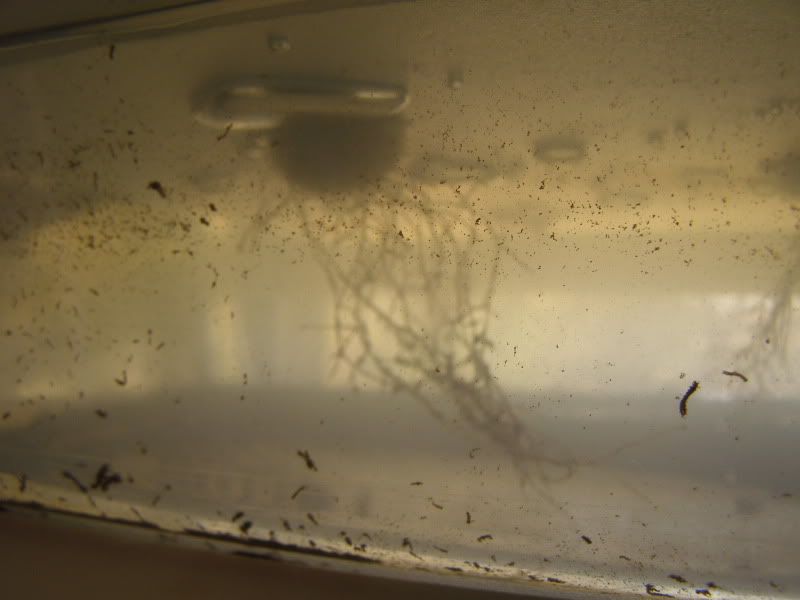
Look at those lovely roots!

I am experimenting with a new idea just to see what happens.

I bought 6 of these a while ago at Stein's because they were on sale.  I thought they might come in handy.


 So, I thought I would give them a spin.  I filled them with gravel and put a plant in each.  This should help keep the weight down, but still allow for growing in gravel media.  That's what I'm going with, anyway.  

Photobucket

Photobucket

The basil is starting to give it a go as well.

Photobucket

Photobucket


Sunday, November 1, 2009

Day 21: Status Report

I still don't have an air supply set up in my system.  This is probably not a particularly good thing.  Even still, the lettuce is doing pretty well.

This is the "Salad Bowl" variety:

Photobucket

And the "Butterhead" variety:

Photobucket

Maybe it's just the fact that they are single plants, but the plants in the rafts don't seem to be doing as well.

Photobucket
Butterhead variety

Photobucket
Salad Bowl variety

I think the raft plants will probably benefit from an added air supply.  I'm hoping to get something fixed up early this coming week.

This is an individual Butterhead variety plant in gravel, for comparison.

Photobucket

This Salad Bowl variety plant in the raft is doing pretty well.  About half of them look like this and half are smaller.

Photobucket 

Sunday, October 25, 2009

System Specs

First, I have a confession to make:
I was just looking at my earlier posts and discovered that someone commented on one.  A real live person.  A real live person that was not my mom.  A real live person who might think I'm competent enough to pull this whole thing off.  HOLY CRAP!   (By the way, it just so happens I'm crazy enough to think I can pull it off, too.)
I hadn't even really thought about the real live people.  I mostly was thinking about getting 3 college credits for my independent study, and that if I put my pictures and notes on a server somewhere in space I wouldn't lose them.  Because lord knows, if I kept them in my house, they would disappear (or have cat teeth marks in them) in no time.

Soooo... for those real live people who may wish to know - here are the 'specs' on my current system.

The frame:
All wood.  The outside posts are 2x4's, the cross bars were 1x4's ripped in half, the plywood for the shelves was laying around in my Dad's garage, and the 'cleats' on the ends of the shelves are the leftover ends of the ripped 1x4's.  The whole thing stands 6' tall and is about 50" wide.  Because I didn't have to buy the plywood, the lumber cost me only about $18.

P1010091

The spacing between shelves is about 18".  I figured about 12" of growing space for the plants would be sufficient for my purpose.  This leaves 4" for the gravel (or whatever growing media I use in each) and about 2" for the lights between each shelf.

The lights:
Plain old shop lights.  These have been sitting in my dad's basement for many, many years.  He used to start garden plants early with them in the spring.  They don't have special grow bulbs in them or anything like that, just regular old fluorescent bulbs.  (and they won't have special bulbs until they have to be replaced)  I saw shop lights the other day at FarmN'Barn*....errrr, I mean Fleet Farm for about $10 each.
The lights are attached to some really strong coated string my dad had.  The shelf above has holes drilled in it so the string can slide up and down to adjust the lights.  There are posts on the outside frame to attach the string to so it holds the lights at the correct level.  Through past experience, we feel the plants do best if the lights are as close to them as possible - I wanted to be sure I could adjust the lights according to the plant height.

The growing chambers:
The chambers themselves are made from sterilite under-bed storage containers.  They just so happened to be 60% off at Shopko on the day I was out looking for some.  THAT was awesome!  I think they regularly go for around $15.


I used a borer bit to drill 1 1/4" holes in each side to fit my plumbing.  That was stressful, but it did work.  (I only screwed up slightly once.)  The PVC piping I used is 1".  This is mostly because I had it laying around from building agility jumps for my dogs.  3/4" PVC would likely work ok, but I think the 1" is actually a good choice.  For the fittings on each side I used one male and one female fitting.  I coated the opening of the sterilite container with some sealant and screwed the two pieces together, one on each side.  This is what the fittings look like:


See how the ends of these fittings will accept a section of pipe?  On the outside, I just attached the inflow or outflow pipe.  After assembly, I did have to gob some sealant on the outside of two of the fittings because where the fittings met the hole in the storage box leaked slightly.  It was fairly easily fixed, though.  I'm sure there is a better sealant for this purpose than I used.  If I had it to do again I would have just bought a tube of tub caulk.  I think that would have worked better.  I used 'rain or shine' pvc cement to connect the sections of pipe.  (I figured that would be a smart thing to do) 
Two things:
Did you know the outside diameter of 1" pipe is actually 1 1/4"?  Jerks!  They probably think it's funny to screw with people who don't know any better.  (This cost me two trips to FarmN'Barn.)
If you've never worked with plumbing stuff before, you will notice that the label on plumbers PVC pipe cement says a couple things:  a) work quickly, this cement will set hard and fast, b) use in a well ventilated area.    
THEY ARE NOT KIDDING!

P1010096

The gravel is 'decorative stone' pea pebbles I bought at Home Depot in bags.  I hate Home Depot.  I only went there because they were close by.  This past weekend I was at Willums landscaping for something else and saw a big pile of pea gravel out in the yard.  I asked the guy, and he said I could buy it for about $1.50 for a 5 gallon pale.  That will be where I get it from now on.  In the past, my dad has gotten gravel we used for our aquariums at the local stone/granite place.  That's probably a better bet for 'prettier' stone, but I don't care what it looks like.  I tried posting on craigslist for aquarium gravel - that was a total waste of my time.  There were actually people that thought I was going to drive to their house and pay $3 for a 'couple baggies' of aquarium gravel.  Lunatics!  As I said above, my gravel bed is 4" deep.  My dad thinks this is deeper than necessary.  I disagree.  And since it's in my house, I'm the decider.  :o)

The rafts:
Go here to learn more about the raft system I am using:
http://aquaponicadventures.blogspot.com/2009/10/day-8-growing-raft.html
 
The fish:
P1010133

The fish I am using right now are the 8 goldfish from my backyard pond.  Here in the frozen tundra, their pond is nowhere near deep enough for them to be able to survive outside.  Plus, they have an important job to do in the house now.  Eventually, I do want to give Perch a try.  Perch are my target audience.


The food:
P1010131

Right now I am NOT evaluating my fish food productivity.  The food I am using is left over from when my dad and I had lives (other than work, school, and football coaching), and beautiful fish tanks.  See?

 untitled

The aquadine mix we used is really primarily targeted for guppies (my dad's fish of choice).  This should be a pretty good diet for the goldfish because they, like guppies, are vegetarian fish.  When I start looking into raising perch, the food issue will have to be addressed further.   

The pump:
 P1010134
The pump I am using is the pump (and pre-filter) taken directly from my pond.  Two reasons:  1) I have it, and it would be stupid not to use it   2) the filter media in the pre-filter I 'MacGivered' for it is established with good bacteria which helped the fish with their transition into the house.

Here is the actual pump as listed on Amazon.com (not where I got mine because, again, I got a killer sale price on mine at Menards):


I have my pump set up with 3/4" fittings and tubing.  It's running just shy of wide-open.  This means the water really flows pretty good through my system.  (this is partly possible because I have fairly large PVC piping)  I used the 3/4" tubing because I don't want the water to come out under very high pressure, I wanted good flow without a pressurized jet of any kind. (particularly because I may eventually use the top chamber for plants)

As you can see, I have a home-made pre-filter around my pump.  This is made from an aquatic plant container.  I placed the pump inside the container, surrounded it with pouches of (GAC) granular activated carbon (which by now is long since 'activated', but is still a good place for good bacteria to live), filter floss, and filter foam.  Then, I took some screen material and cut a hole in it so the riser off the pump could poke through, and attached it with zip ties.  (I'm starting to use binder clips to hold the screen on now because re-doing the zip ties when I clean it is a pain in the butt - it seems to be working)

This is what the aquatic plant baskets look like.  I used a square one like the top right.


The plants:
I chose a terrible time to start this as far as locating seeds to start WITH.  I was able to track down a couple seeds at my local garden store.  I'm pretty much just using what I was able to get my hands on for now.


Notice the words "reliable" and "easy to grow" on each of these packets.  I figure that part sure can't hurt.  :o)


The lettuce is the primary concern for my system, but I had the Cilantro, Basil, and Oregano seeds left over from summer so I figured what the heck.  The lettuce has been doing great so far.  The Basil and Oregano are doing so-so.  The Cilantro is a big fat flop.  I haven't seen a single one sprout yet, at 14 days.


So, there you have it.  My aquaponics system.
If there are any 'real live people' (or my mom) out there who wish to know more, please feel free to let me know. ;o)


* FarmN'Barn is one of my favorite places.  It's actually called Fleet Farm.  My brother and his friend (who worked there) always call it FarmN'Barn, and I happened to like it... so, it stuck.  :o)

Day 14: Thinning the Herd

There's been a whole lot of growing goin' on.

P1010120
"Salad Bowl" variety

P1010121
left:  "Butterhead" variety

I really had no idea how things would go with this new system, so I *may* have sewn a bit much seed.  Lettuce doesn't really like to be crowded (or so I've read), so I must now thin them out.  This process makes me a little sad.

First, I picked out some nice plants for transfering to the rafts.  I filled a second raft, and also replaced some of the cells in the first raft that did not do so well.  I found that the root systems on these, now 14 day old, plants were substantially larger.  I would definitely say that I feel 14 days would be a better time to transfer to rafts than the earlier 8 or 9 day stage.

P1010123


Pulling out all those adorable little plants made me sad.  Just look at all those cute little guys with their nice root systems that will never get to reach their full potential.

P1010124
THAAAAT's right!  I'm sad about killing baby lettuce plants!  Is that a PROBLEM!?
Didn't think so.  :o)

P1010125


On one side of the gravel chamber the plants are nicely spaced.

P1010128
That's tiny Oregano plants in the middle...I think.
(this is why we label things)  :o)

On the other side, the plants are only partially spaced.  I want to see how they do slightly crowded.  (and also this allows me to have more plants to pull if I have any die off in the rafts)

P1010127